DIY Crunchy Stress Balls: What 4 Viral Fillings Actually Did
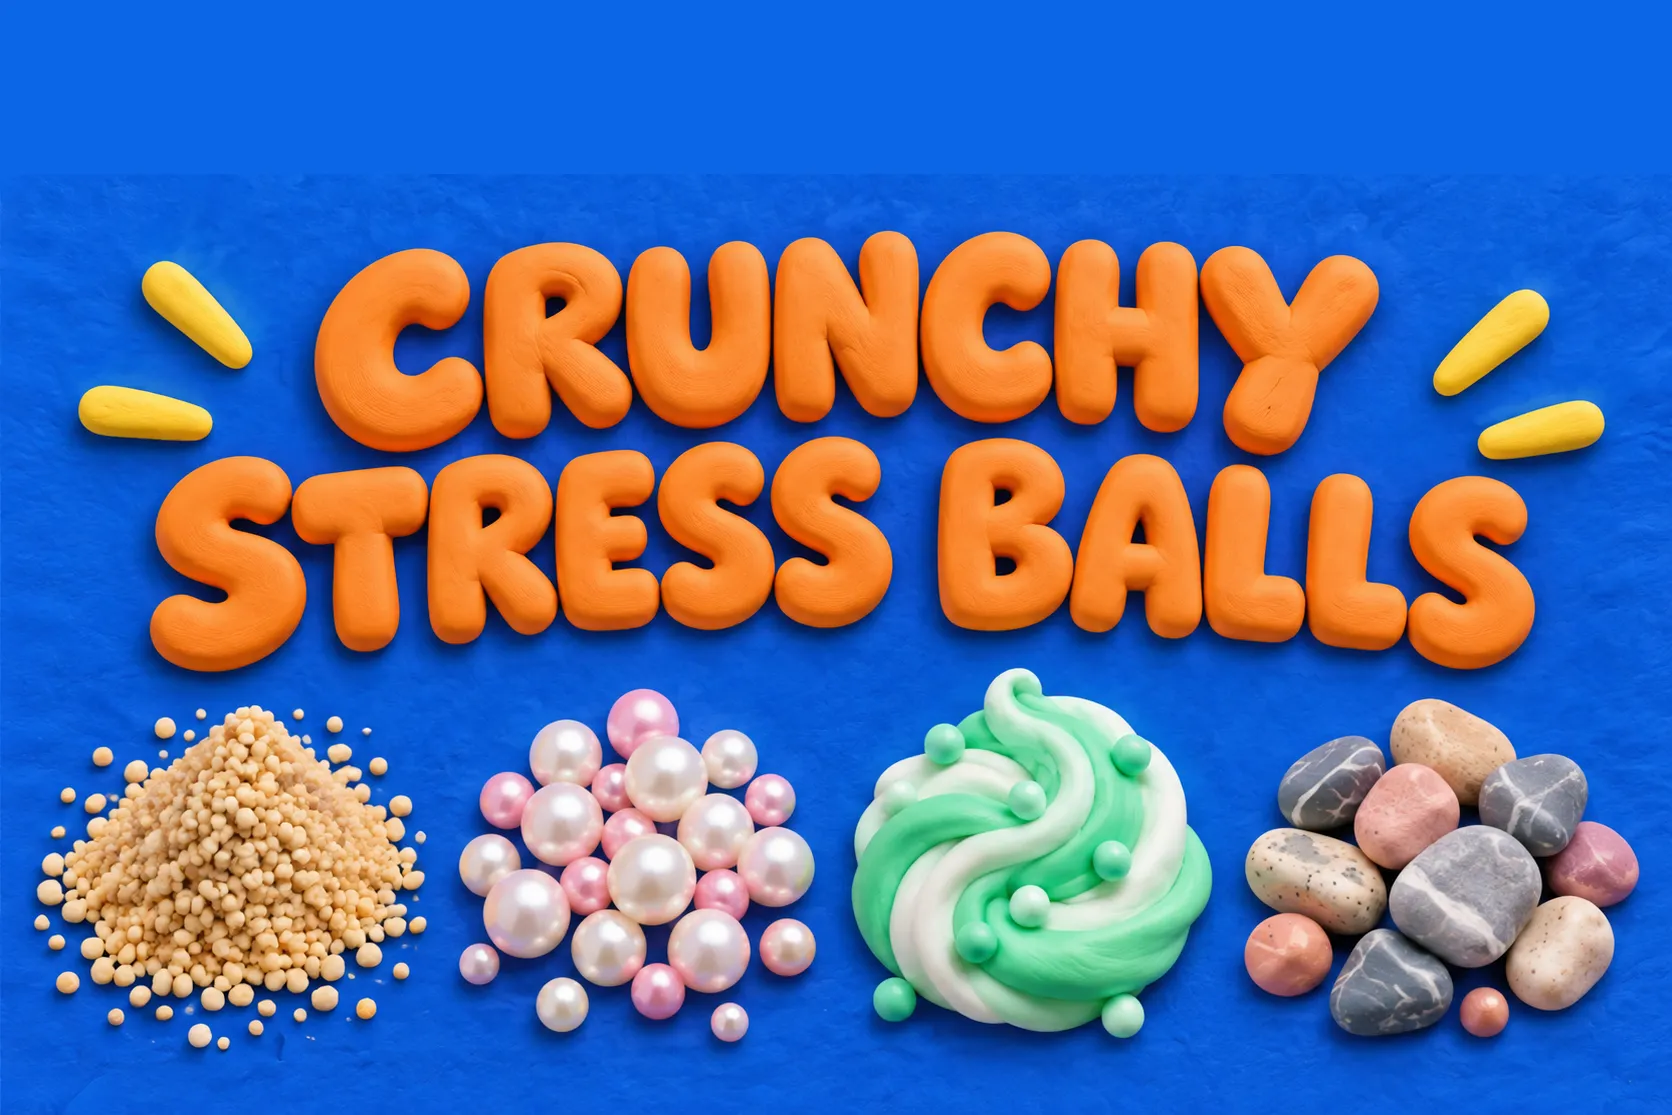
What this is: a breakdown of a widely viewed YouTube tutorial in which one creator built and crunch-tested four homemade stress balls — sand, pearl beads, clay-and-slime, and small decorative stones. We did not build or test these ourselves, so treat the results below as what happened in that one video, not as TopToyFun-verified outcomes or a controlled comparison. The four builds were not filmed under identical steps either — for example, the clay-and-slime version did not go through the same air-removal step as the others — so read every result as a single-video observation.
What the source video tested

Click to load the player (playback stays under your control). Source: “I Made VIRAL CRUNCHY STRESS BALL SQUISHIES!” by Chillin’ with Rachel on YouTube. Distilled 2026-09-15.
The creator first tested a store-bought “dupe” and found it held too much trapped air to crunch well, which was the reason given for building four versions from scratch: one filled with colored sand, one with pearl beads, one with a clay-and-slime mix, and one with small decorative stones.
Supplies used across the builds
- Stress ball skins in clear or solid colors (a latex balloon was named as a substitute).
- A pump to inflate the skin before filling — the skin starts shrinking back down as soon as you stop pumping, so filling has to happen fast.
- A small scoop or spoon for pouring filling in.
- Zip ties, and for one build, the skin’s own stopper plus craft glue, to close the opening.
- A syringe to draw out trapped air after sealing.
Sand — visible result and trade-off
▶ See this at 0:44 in the video
What the video showed: an inflated skin filled with two to three scoops of colored sand, then sealed with a zip tie once the skin shrank back down around it.
Result: the hardest, most rock-like crunch of the four. After the air was pressed out, the ball stayed molded into whatever shape it was pressed into instead of springing back — closer to kinetic sand than a bouncing squishy.
Pearl beads — closure failure and next-day result
▶ See this at 2:51 in the video · next-day result at 9:02
What the video showed: a clear skin over-inflated and packed tightly with plastic pearl beads, sealed with the skin’s own stopper and craft glue, then set aside overnight.
Result: the next day, a small hole had opened near the seal and some beads had shifted. The video does not identify the exact cause — it could be cure time, stopper fit, how the glue was applied, or handling — so we are not guessing at one. The creator’s fix was to empty out some pearls and reseal with a zip tie instead, which held for testing.
Clay + slime — overfill and softer feel
▶ See this at 4:17 in the video
What the video showed: modeling clay kneaded into clear slime until evenly colored, then packed into a skin. This build was over-filled and skipped the syringe air-removal step the other builds used — the video shows slime pushing back out of the opening before the creator removed some filling and switched to a different zip tie to close it.
Result: a softer squish rather than a sharp crack, with a marbled, ice-cream-like look. The video does not include any longer-term testing, so we can’t say how this filling holds up after the day it was made.
Small stones — audible crunch and puncture concern
▶ See this at 6:27 in the video
What the video showed: a skin filled generously (about five scoops, more than the sand version’s two to three) with small decorative stones of the kind sold for aquariums or vases. The creator raised a concern, on camera, about whether the stones might be sharp enough to poke through the skin, without confirming on camera whether that happened.
Result: a loud, rock-hard crunch during testing, with the same stay-molded trade-off as the sand version.
Side-by-side comparison
These four builds were not filmed under identical conditions, so this table records what happened in that one video, not a controlled lab test. (Swipe to see all columns on mobile.)
| Filling | Crunch in the video | Shape after squeezing | What stood out |
|---|---|---|---|
| Sand | Very high, rock-hard | Stayed molded, did not spring back | Same stay-molded result as stones |
| Pearl beads | High, sharp and audible | Sprang back | Glued seal had a hole the next day |
| Clay + slime | Medium, softer squish | Sprang back | Overfilled; skipped the air-removal step |
| Small stones | Very high, loudest | Stayed molded, did not spring back | Puncture risk raised on camera, unconfirmed |
Safety and when to stop
- Loose sand, small stones, and pearl beads are choking hazards if a seal fails or a skin splits. For small-parts and choking-hazard guidance in the US, see the CPSC’s Small Parts for Toys and Children’s Products page. These are craft projects, not age-rated toys.
- Follow the cure time and ventilation instructions printed on your specific glue’s label rather than a fixed guess.
- If a seal looks wet, loose, or the skin looks stretched thin, do not squeeze it hard yet — that is what preceded the failure in the pearl-bead build above.
- Inspect any homemade stress ball for small tears before each use, especially around the sealed opening.
FAQ
Can I use a balloon instead of a stress ball skin?
The video names a balloon as a substitute. A dedicated stress ball skin is purpose-made for repeated squeezing; whether a balloon holds up the same way over time was not tested on camera.
Why did the pearl-bead ball leak air overnight?
A hole had opened near the seal by the next day. The video does not confirm the exact cause, so check your own glue’s cure-time and application instructions rather than assuming a fixed wait time will always work.
Which filling lasts the longest?
The video does not include longer-term durability testing for any of the four builds, so we are not making a claim here either way.
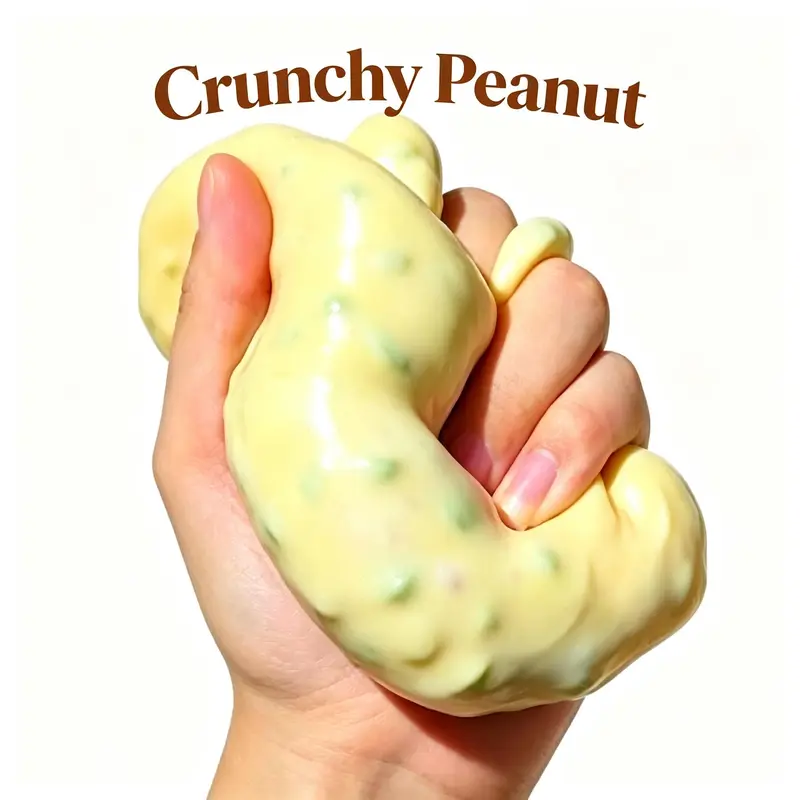
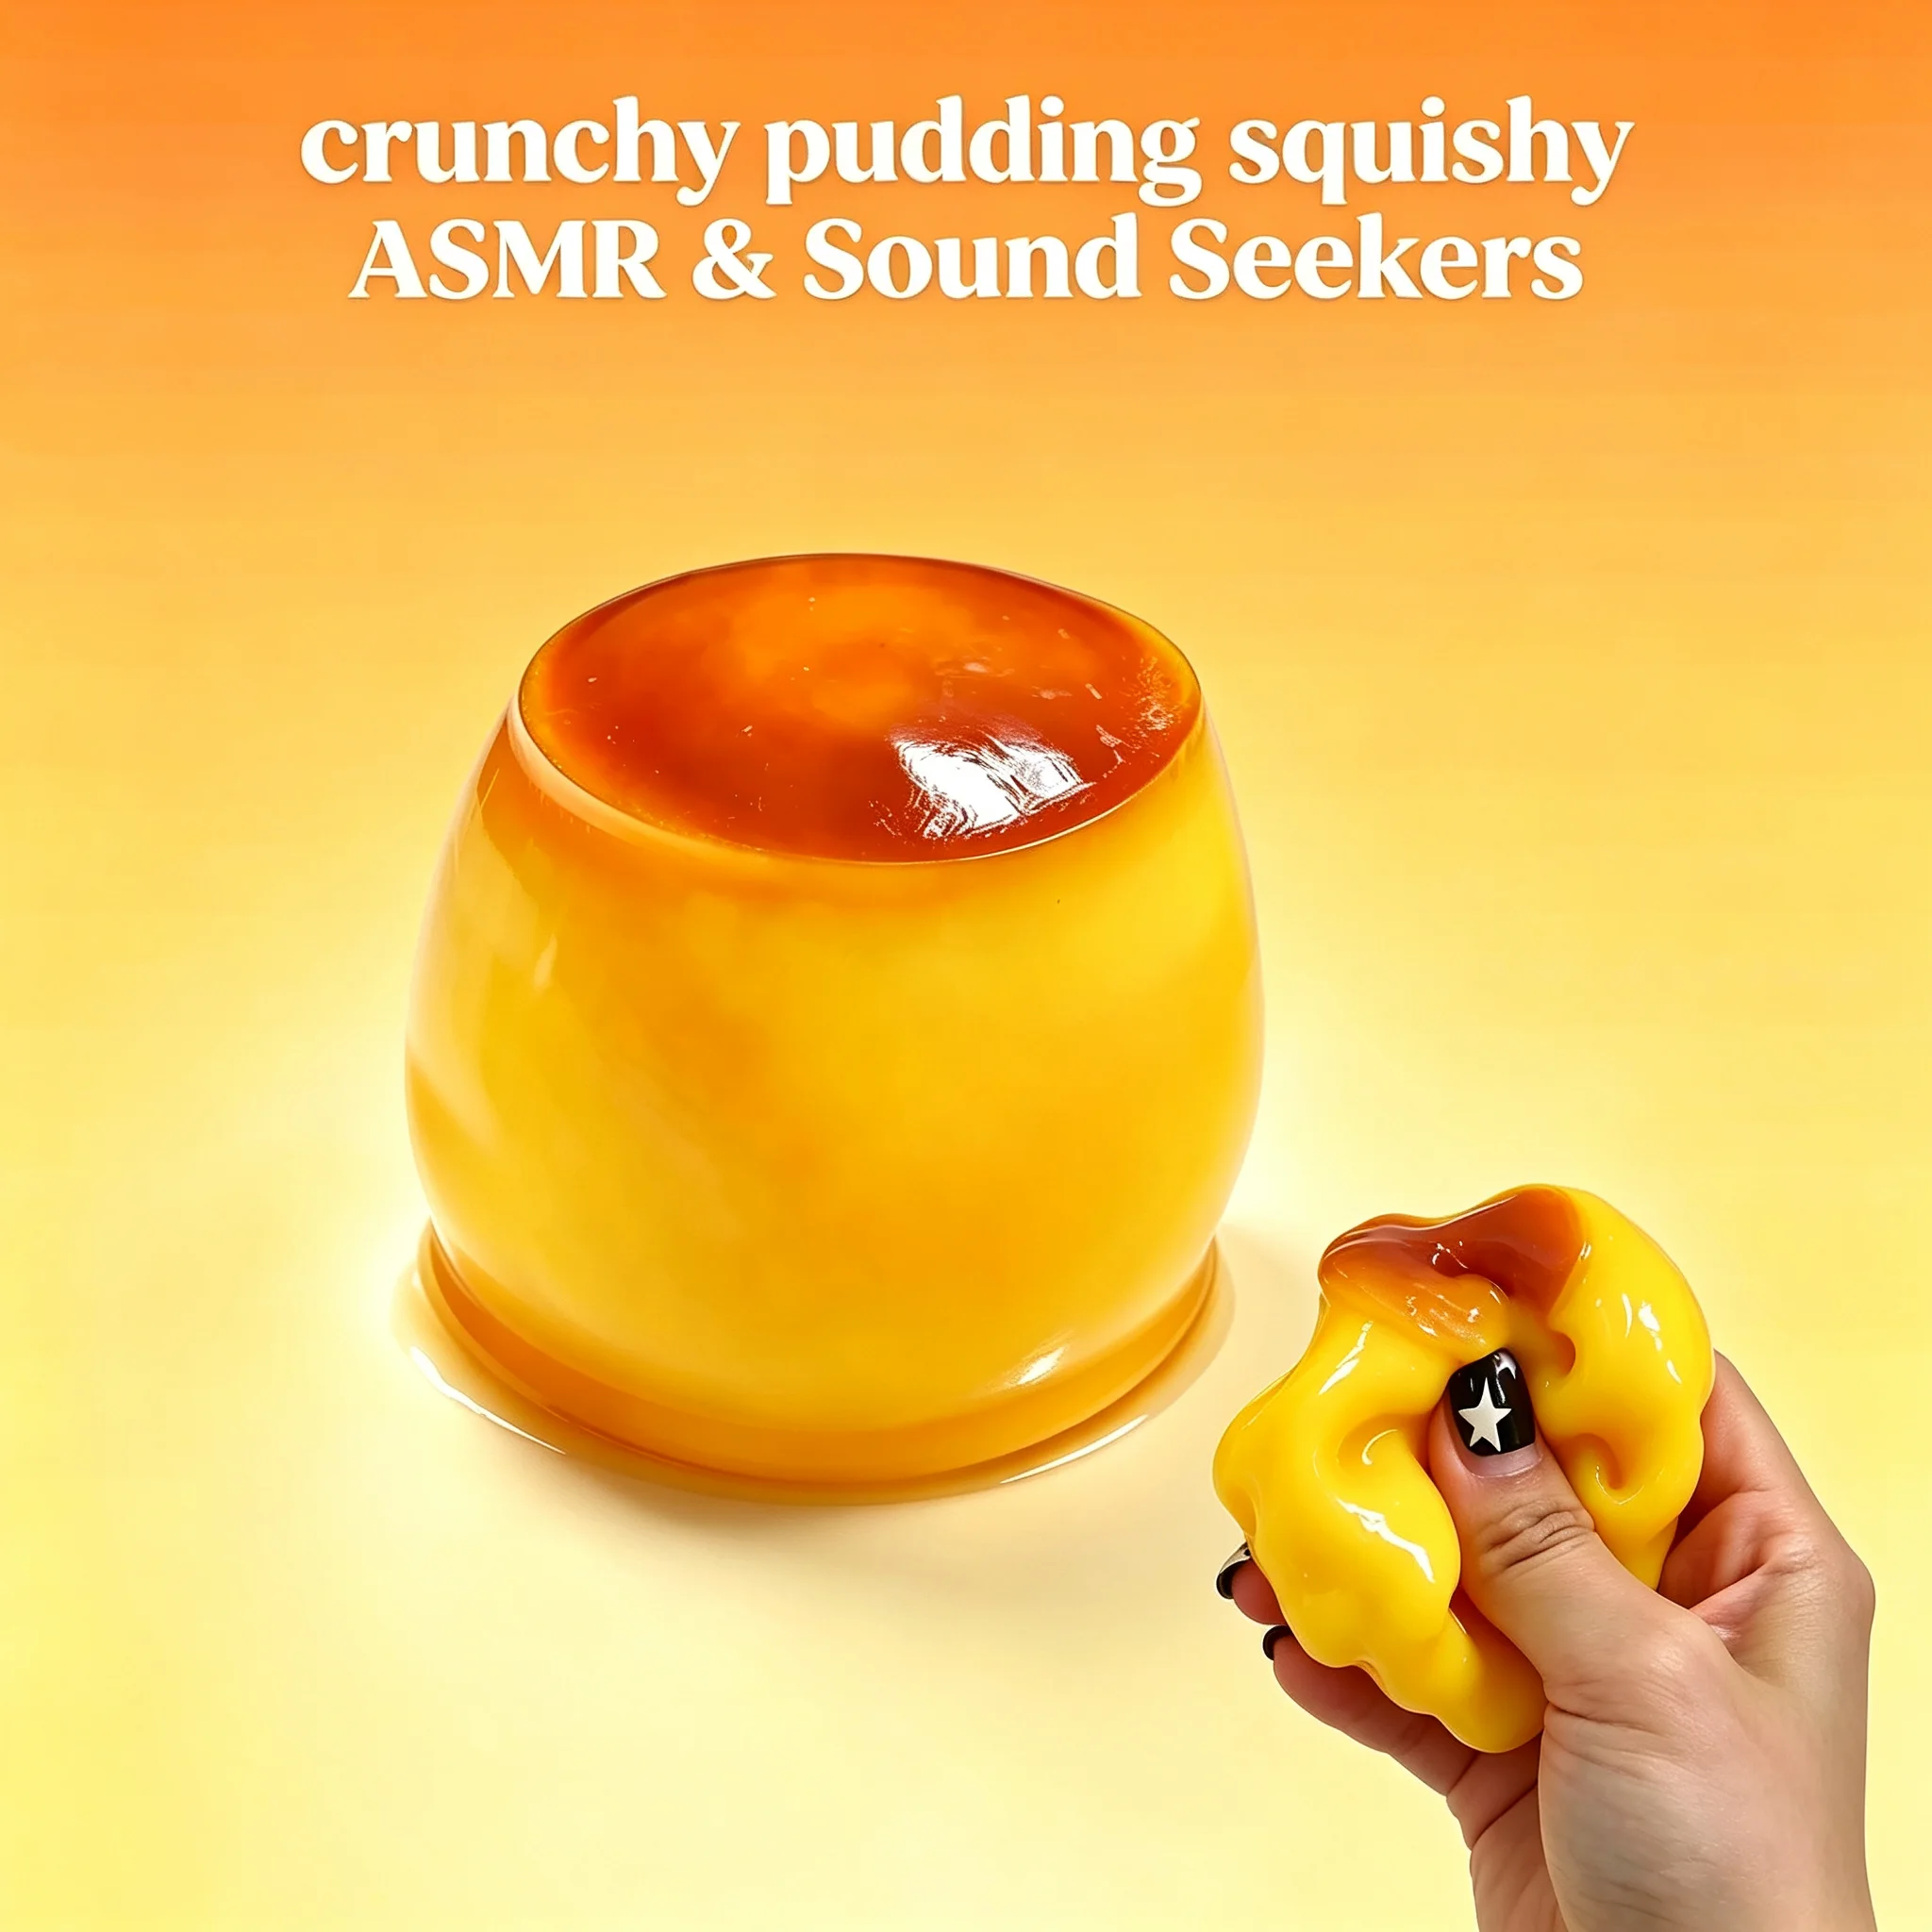
If the mess and glue-curing wait is not for you, TopToyFun’s Crunchy Peanut Squishy Toy and Caramel Pudding Crunchy Squishy use a firm, crunchy block filling built in from the factory.
Written by Semmi, Reviews Editor at TopToyFun. Published September 15, 2026. Last updated September 15, 2026. This guide distills a single public YouTube video; TopToyFun has not independently built or durability-tested these DIY projects. Spot something wrong? Contact us and we’ll correct it.